Health & Fitness
Piping and the Art of Cake Decorating Part 1: Pastry Bag Basics
Piping is one of the essential techniques you need to learn to decorate cakes. In Part 1, we discuss the basics of the working with a pastry bag when piping.

There are many techniques you need to learn to decorate cakes. Piping is one of the essential ones. After all, you’ll inevitably have to write "Happy Birthday" or "Congratulations" on one of the very first cakes that you make. From there you can get into more complex piping techniques for swags and overpiping.
Piping decorations on a cake does require a very steady hand and lots of practice, practice, practice. Cake decorating is an art, a skill requiring time and patience. But learning some pastry bag basics will help when you need the smooth movements that piping requires.
When filling the piping bag, make sure you cut the end small enough for the tip to go into, but not go all the way through. A tight fit is perfect. Push the tip from the inside through to the bottom and it'll sit there.
Find out what's happening in Lawrencevillewith free, real-time updates from Patch.
Fold the top of the pastry bag down so none of the frosting gets on the outside while filling it.
Do not fill the bag all the way, as that will affect your control. Less is more at least when it comes to controlling your movements on the bag. Fill it about 1/3-1/2 of the way up the bag. About a cup’s worth of icing. (With practice, or when you’re doing less detail work you can fill it a little more.) So…less filling creates a smaller bag which in turn gives you more control.
Find out what's happening in Lawrencevillewith free, real-time updates from Patch.
You never want air bubbles when you are using a pastry bag, but it is especially important when piping. Just “massage” the icing downwards – gently until there are no visible gaps of icing in the bag.
Once the gaps are gone, unfold the pastry bag top and twist the top until all air is gone. The pressure should cause a little bit of frosting to come out of the tip. In fact, you may want to force a little more icing out to make sure you have lost all the air pockets.
In the beginning you may find it easier to pipe with a larger tip, especially a textured tip like the small star tip. For letters and swags, touch the tip to the cake surface at the start and the end, but to keep the rest loose. You do not want to be pressing on the cake at all when you’re piping unless it’s the beginning or the end of a letter or loop. So the tip should be just above your cake surface. Let the icing drop lightly down to the surface – let it lay itself down on the cake rather than you using the tip to touch it to the cake. (The exception being the beginning or end of a scroll or letter.) You may need to be on a step stool so that you can hover over the cake.
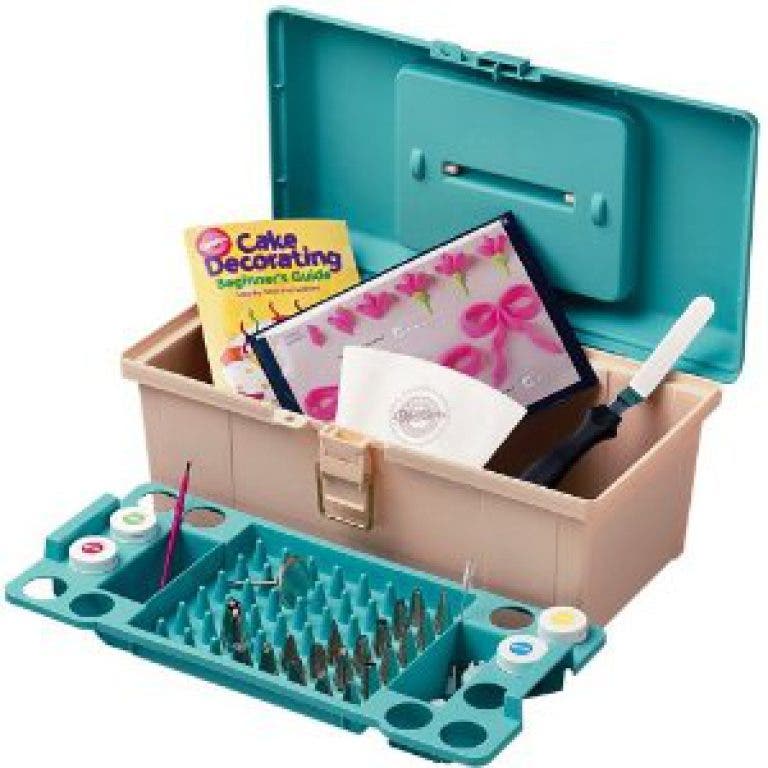
Like any craft, you need to use the right tools. You may want to consider investing in a Wilton Cake Decorating Kit.
In part 2, we will cover some ways that you can reduce any shakiness on your piping. If you want to read the full article, please visit the website. Or subscribe to our Newsletter by emailing caketips@aweber.com
Do you have any advice for your fellow bakers and cake decorators?
If so submit your cake decorating ideas, tips and techniques to breebakes@yahoo.com, or visit us on Facebook at http://www.facebook.com/LearnToDecorateCakes